
Endless Gift Choices for Stress-Free Shopping
DIY Pressed Flower Suncatcher: A Delightful and Beautiful Handmade Decoration
This post may contain affiliate links. I may receive commissions for purchases made through these links with no extra cost to you. As an Amazon Associate I earn from qualifying purchases.
Looking for a fun and rewarding craft project? This pressed flower suncatcher DIY is a wonderful way to add a little bit of nature into your home while bringing in a personal, handmade touch to your decor.
Whether you’re making it as a special gift for a loved one, celebrating the beauty of spring, or crafting a special birthday or Mother’s Day present, this is an easy, enjoyable craft that results in a lovely piece of artwork that will brighten up any room.
And it’s a wonderful way to preserve your favorite blossoms and turn them into a memento that you can cherish all year round. Imagine the sun coming through your window and highlighting each delicate petal, casting a beautiful, multicolored glow throughout your home—pure magic!
Table of Contents
Why You’ll Love This Pressed Flower Suncatcher Craft
Creating a pressed flower suncatcher isn’t just about making something pretty—it’s about capturing the beauty of nature in a way that lasts. Whether you’re crafting with kids, sharing a creative afternoon with friends, or enjoying a peaceful solo project, this DIY activity offers joy, relaxation, and the thrill of creating something truly special. Here’s why you’ll absolutely love this craft:
- A Lovingly Made Gift – Nothing is more unique than a gift made with love! For Mother’s Day, a birthday, or just to say thank you, this suncatcher is a thoughtful, one-of-a-kind gift.
- Fun and Easy for Everyone – No crafting experience? Don’t worry! This is a beginner project that’s easy to do, so it’s a perfect activity for children and adults.
- Eco-Friendly and Sustainable – Breathe new life into flowers that could otherwise wilt away by recycling them into lasting works of art. It’s a sweet way to celebrate nature while conserving resources.
- A Personal Touch for Your Space – Hang it in your kitchen, living room, or even a classroom, and this suncatcher adds a splash of warmth and whimsy to any window.
- Create Durable Memories – Press flowers from a wedding bouquet, a hike on a warm summer day, or a treasured garden to give your suncatcher the quality of a special keepsake.
- A Healing and Calming Process – Studies have shown that crafts reduce stress levels and improve creative thinking. Pressing flowers and inserting them in a suncatcher is an in-the-moment and calming activity.
- Perfect for Any Time of Year – While spring and summer give a bountiful supply of flowers, you can also use autumn leaves or winter flowers to make suncatchers all year.
- Excellent for Group Projects – Host a crafting party, plan a nature-themed classroom activity, or have a DIY afternoon with friends and family.
Create a Stunning Window Display
These suncatchers made of pressed flowers bring a lovely, colorful touch to any window! You can create a set to create a stunning nature-themed display or create a single one as a work of art. They brighten up your special spot right away. They also are great classroom decor, bringing a cozy, creative atmosphere to learning spaces while inspiring creativity in children.
Go out and forage and dry flowers, and then use them to make your suncatcher. Public parklands, community gardens, and even grass plots around playgrounds are typically awash with wildflowers otherwise pruned during the spring and summer months. Harvesting them prior to their trim not only brings something beautiful, but it keeps a piece of nature in some creative and true sense.
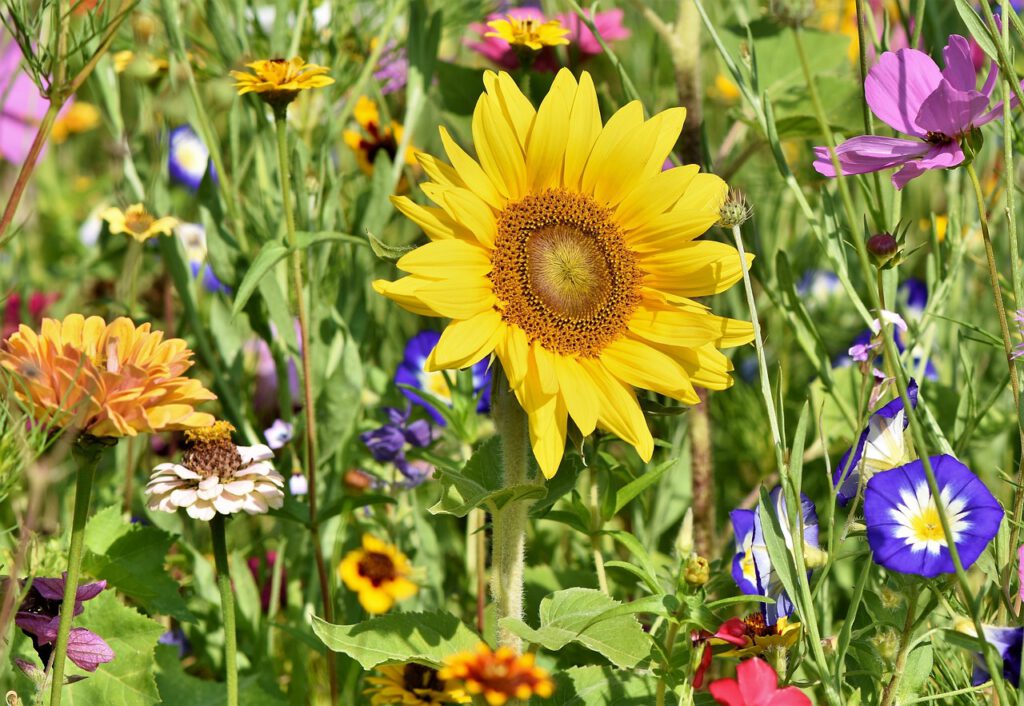
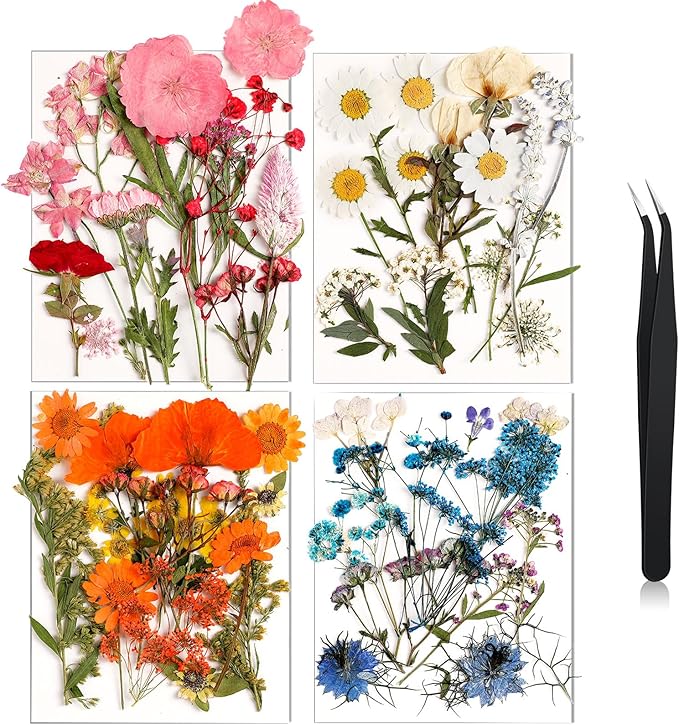
20 Best Flowers for Pressing
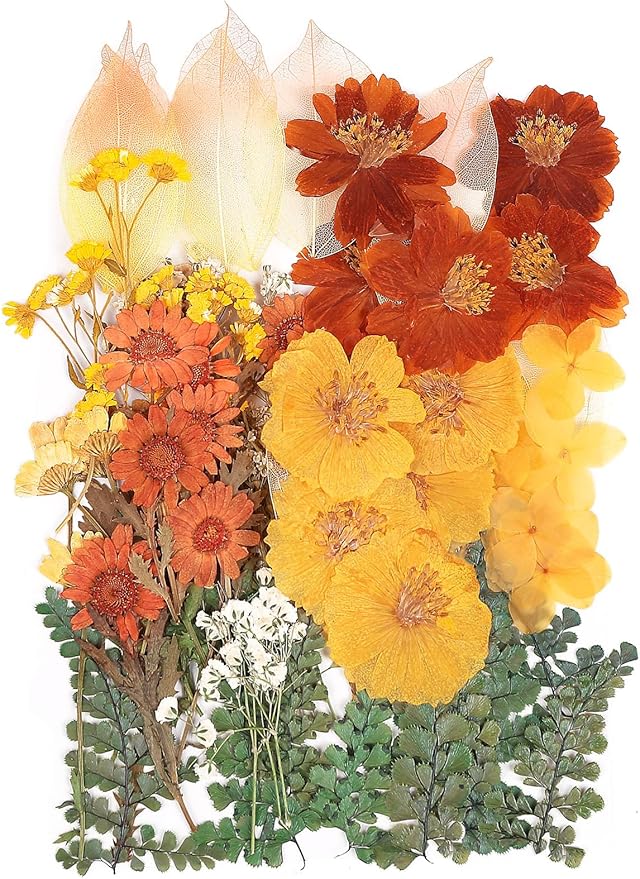
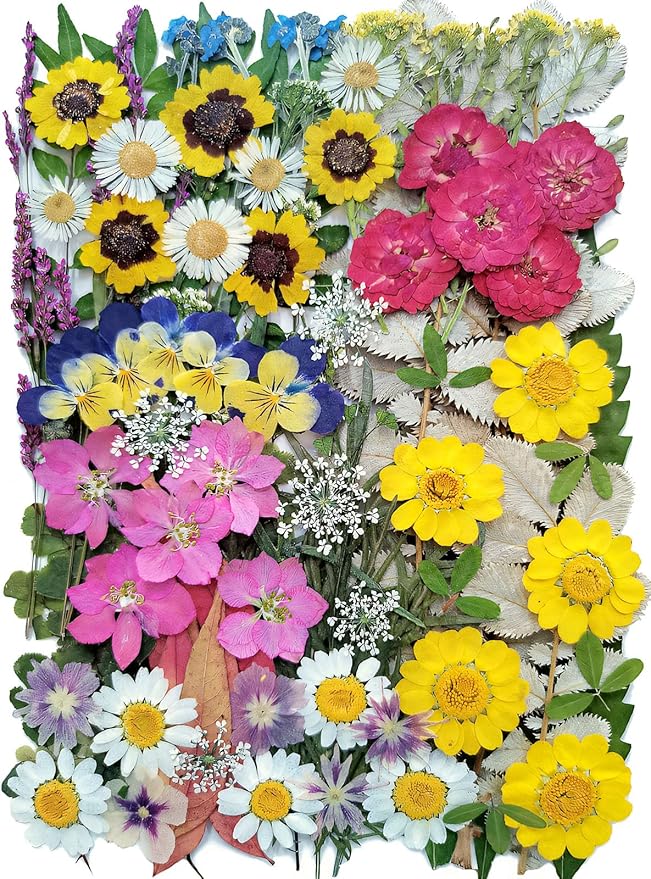
Not all flowers press well, so the correct ones will be needed for a suncatcher that is colorful and will last a long time. Delicate petals and thin blooms are best, as these retain their color and their shape beautifully when flattened. Some of the most suitable flowers to press, and some of their unique features, are as follows:
Below are some of the best flowers to press, chosen for their rich colors, intricate structures, and ability to remain lovely even when dry. For vibrant shots of color or soft, romantic hues, the following flowers will make your pressed flower suncatcher really shine:
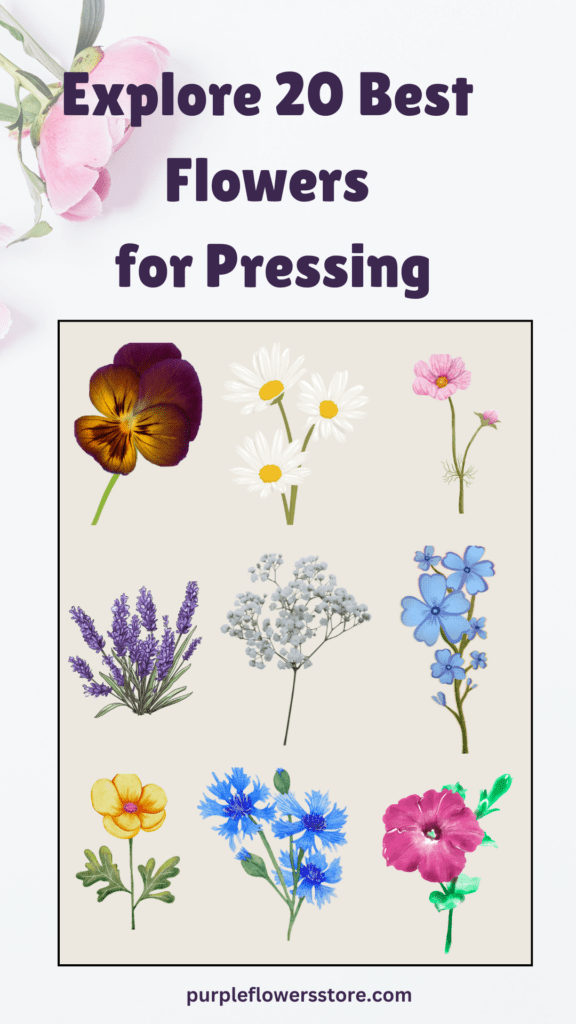
- Pansies – Their vibrant colors remain intact and look stunning when pressed.
- Daisies – Their simple shape and bright white petals make them a timeless choice.
- Violets – These delicate flowers retain their rich purple hues beautifully.
- Forget-me-nots – Their small, intricate petals press well and keep their soft blue tones.
- Queen Anne’s lace – This lacy wildflower creates a lovely, delicate pattern when pressed.
- Buttercups – Their sunny yellow petals brighten up any suncatcher design.
- Cosmos – These flowers have thin, paper-like petals that dry beautifully.
- Baby’s breath – Tiny, airy blossoms that add a soft, whimsical touch.
- Lavender – Retains its fragrance even after pressing, making it a great addition.
- Petunias – Their wide, open faces flatten well and keep their bold colors.
- Marigolds – Retain their warm oranges and yellows, perfect for vibrant suncatchers.
- Bluebells – Their soft blue tones stay vivid after pressing.
- Zinnias – Their bright, cheerful hues make them stand out in any design.
- Fern leaves – Add a touch of greenery for contrast and texture.
- Hydrangea petals – Their pastel tones create a soft, romantic look.
- Rose petals – When pressed individually, they create a classic, elegant effect.
- Larkspur – These spiky blossoms press flat while maintaining their structure.
- Cornflowers – Their deep blues and purples add a rich pop of color.
- Yarrow – Holds its shape well and provides a unique texture.
- Snapdragon petals – Their delicate, curved petals create beautiful accents.
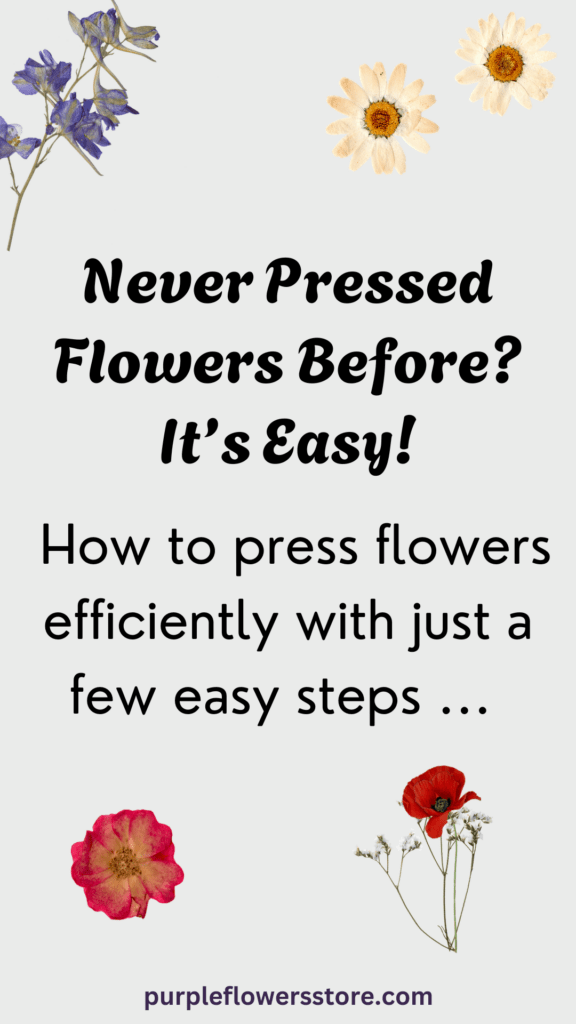
Never Pressed Flowers Before? It’s Easy!
If you’ve never pressed flowers for yourself, don’t worry—anyone can do it! Pressing flowers is a fun and rewarding activity that allows you to preserve the beauty of nature for craft uses. With only a few simple steps, you can transform fresh flowers into lacy, dry petals that retain their vibrant color.
How to Press Flowers
Flower pressing is a critical step in designing a shiny and long-lasting suncatcher. Well-pressed flowers retain their original color, and you can create stunning, sun-kissed arrangements. Here’s how to press flowers correctly and preserve their color and delicate details:
- Choose the Right Flowers: SPick fresh and dry flowers free of moisture and spots. Flowers by nature with flat faces, like pansies, daisys, and violets, are best to work with.
- Prepare the Flowers: Gently strip away surplus leaves and stems. Lay the flowers flat on two sheets of parchment paper.
- Press the Flowers: Place the flowers wrapped in parchment in a large book. Weigh down with extra books or place something heavy upon them for extra pressure.
- Wait for Drying: Allow flowers to press 2-4 weeks. Inspect occasionally to ensure they’re drying nicely.
When your flowers are totally dry and pressed, they’re prepared to be placed in your pressed flower suncatcher!
Tips for Selecting, Picking, and Preparing Your Flowers
How to keep your suncatcher preserved flower fresh looking, colorful, and long lasting. With proper flowers, effective pressing, and assembly, you can make an exquisite result perfectly catching the light. If making one for holiday or party celebration, or wanting to add individual touch to decor, these tricks will make the suncatcher shine.
Choosing the Right Flowers for your pressed flower suncatcher:
- Select flowers that have naturally flat faces—like pansies, daisies, and violets—because they press easiest and hold their form.
- Select strong, dark-hued flowers, as they retain their color best among light colors.
- Avoid flowers that have crowded centers (like roses or peonies), as they take longer to dry and do not flatten nicely.
When and Where to Pick Flowers:
- The best time to pick flowers is in the morning after the dew has dried but before the afternoon heat causes them to wilt.
- Wildflowers from parks or grassy areas make great choices, but always be mindful of conservation rules.
- If picking from the garden, choose flowers in their prime for the best color and shape.
Preparing Flowers for Pressing
- Gently brush away dirt or small insects before pressing.
- Lay flowers flat between two pieces of parchment paper and insert in a heavy book or flower press. Press for at least several weeks to ensure they are totally dry.
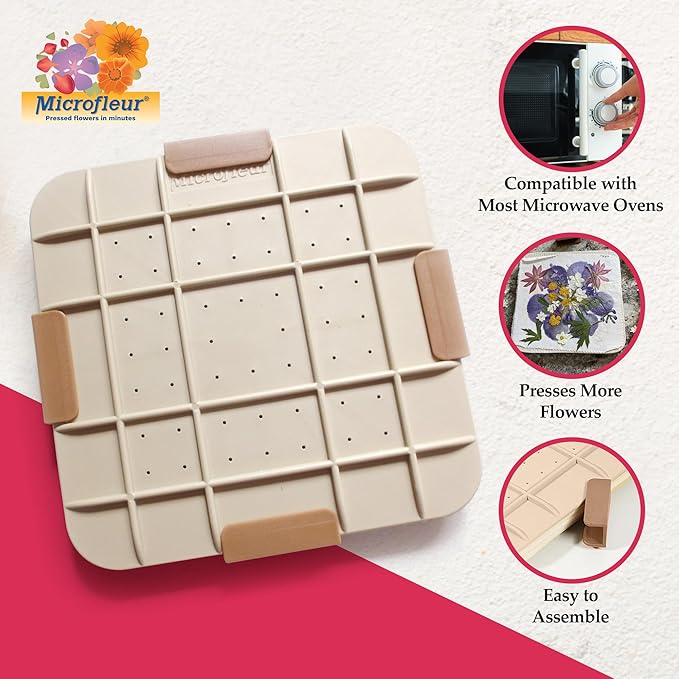
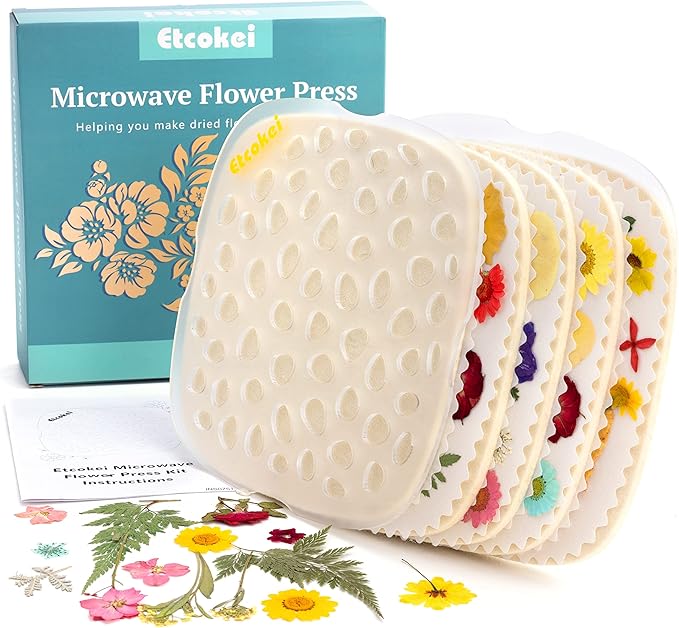
- Speed Up the Process: If you’re in a hurry, use a microwave flower press: When you’re short on time, this is the ideal option for you! Arrange flowers in Microfleur flower press, For most microwave presses, begin with a single extended heating session, usually start with 20 seconds. Continue microwaving your specimen in 10-second intervals until the flowers feel paper-thin.

- You can also use a warm iron on a low setting to speed up the process. However, it’s found that this method is less effective than others in terms of quality. That being said, it’s a handy option if you’re short on time for pressed flowers and lack a microwave.
Whether you’re using a traditional book-pressing method, a microwave press for quick results, or an iron to speed up the process, pressing flowers is an enjoyable way to add a personal touch to your crafts. Plus, it’s a wonderful way to capture seasonal beauty and create lasting keepsakes from special occasions like weddings, garden walks, or nature hikes.
Common Mistakes When Pressing Flowers & How to Get Around Them
- Working With Too Thick Flowers – Roses, and any other too-thick flower, will take longer to dry and even might develop mold. Work with the flatter flowers such as daisies or violets.
- Not Drying Flowers First Before Pressing Them – All that water might leave brown spots or even mold. Make flowers dry before pressing them.
- Pressing Flowers in a Humid Environment – High humidity can slow down the drying process and lead to mold. Press in a dry, well-ventilated area.
- Overlapping Flowers During Pressing – Flowers need to be arranged in a single layer with space between them for even pressing.
- Using the Wrong Type of Paper – Don’t use wax paper because it holds moisture. Parchment paper or blotting paper is best.
- Checking Flowers Too Early – Opening the press too early can ruin the flowers. Be patient and give them at least a week to dry out thoroughly.
- Omitting Weight on the Press – Not applying enough pressure can result in flowers that are not flat. Add weights or heavy books to avoid this.
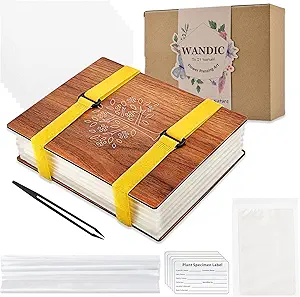
Materials You’ll Need to make your Pressed flower suncatcher
Gathering the right materials is the first step in making your pressed flower suncatcher. Here’s what you’ll need to create a stunning and long-lasting piece of window art:
- Pressed flowers: you can press your own or purchase pre-pressed flowers.

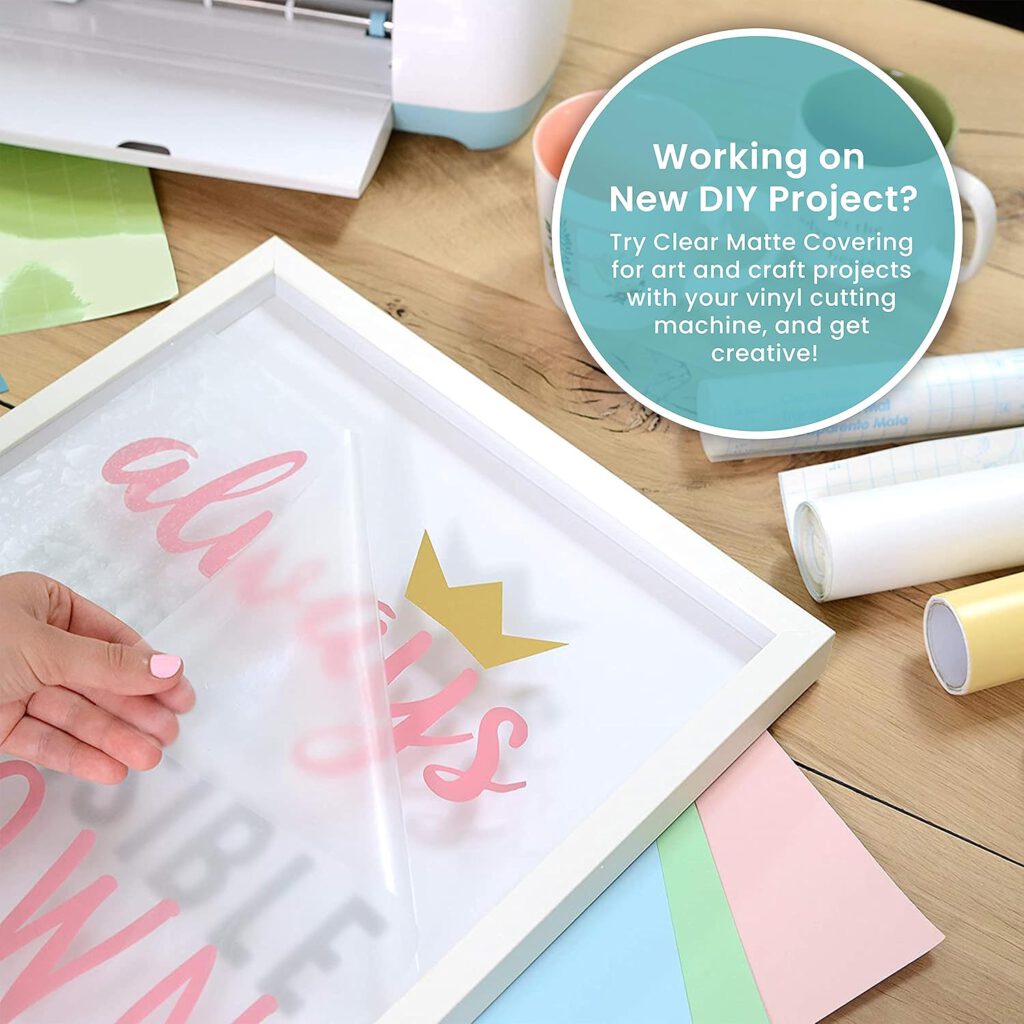
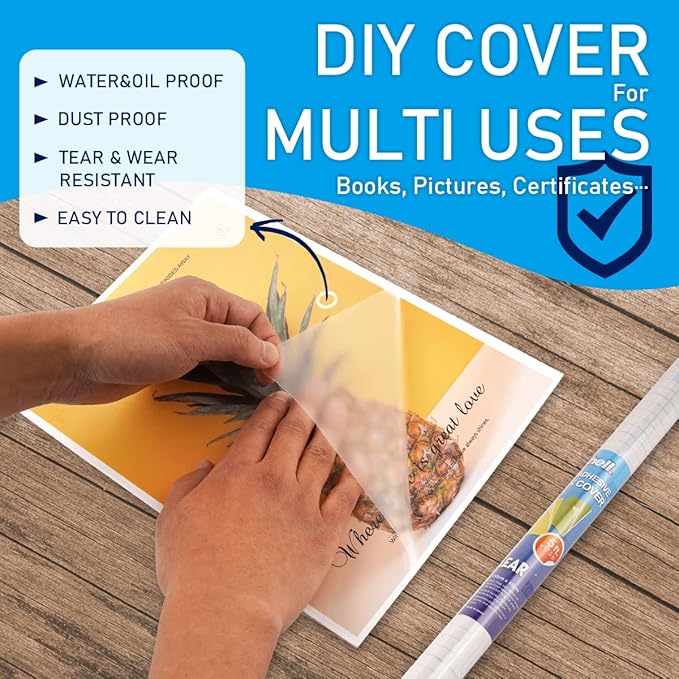
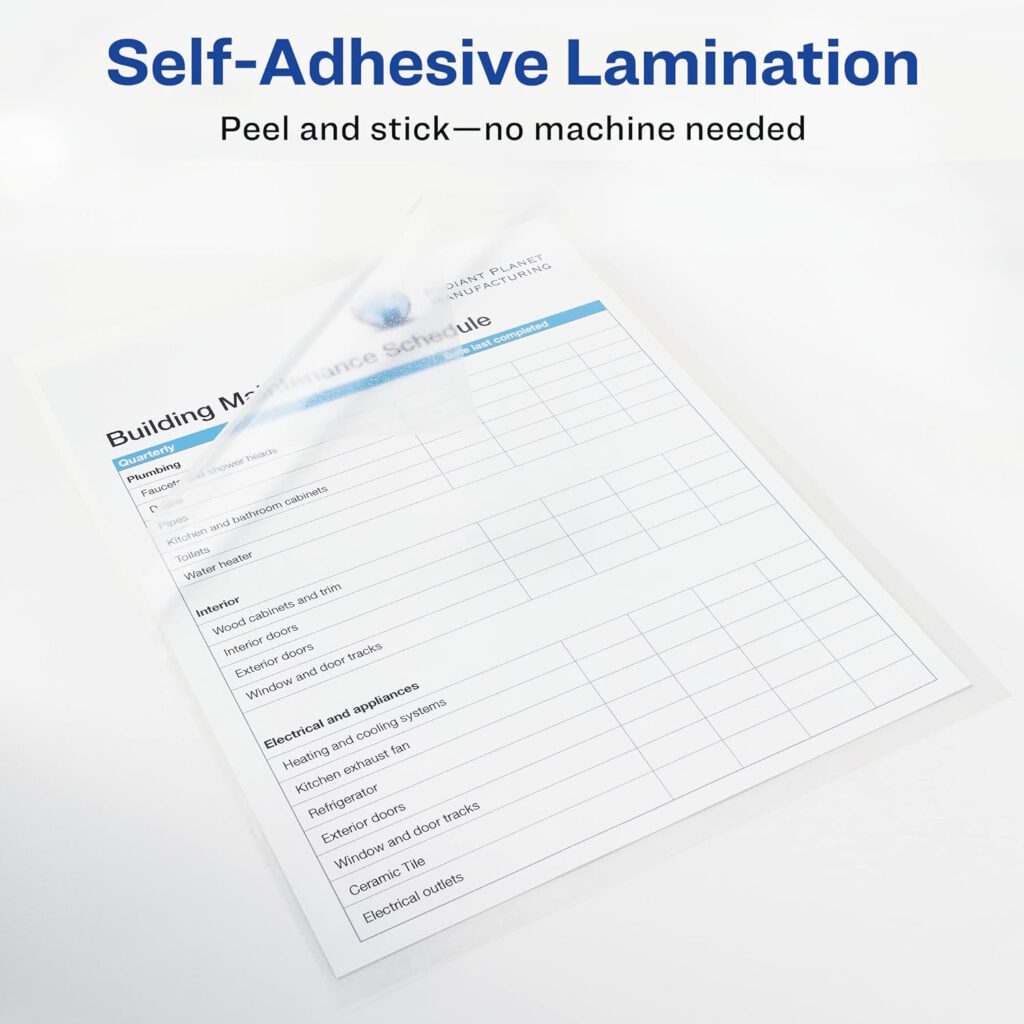
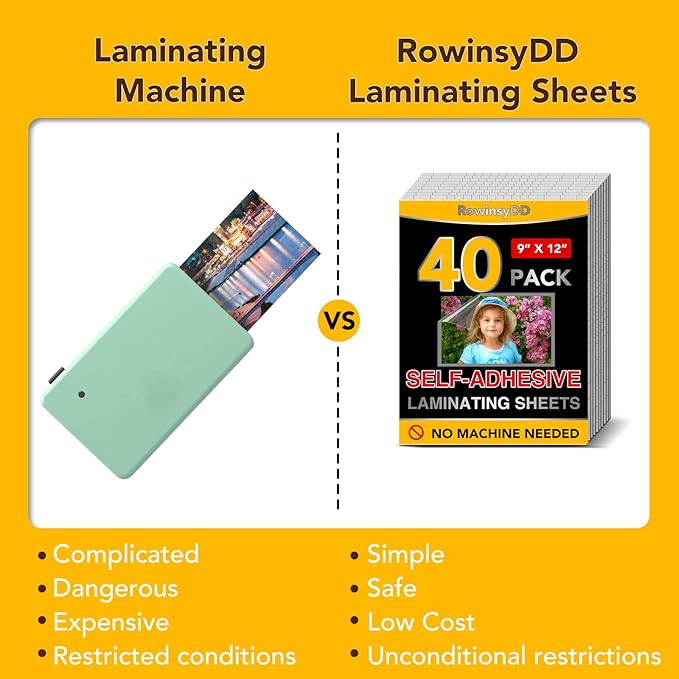
- Clear contact paper or laminating sheets
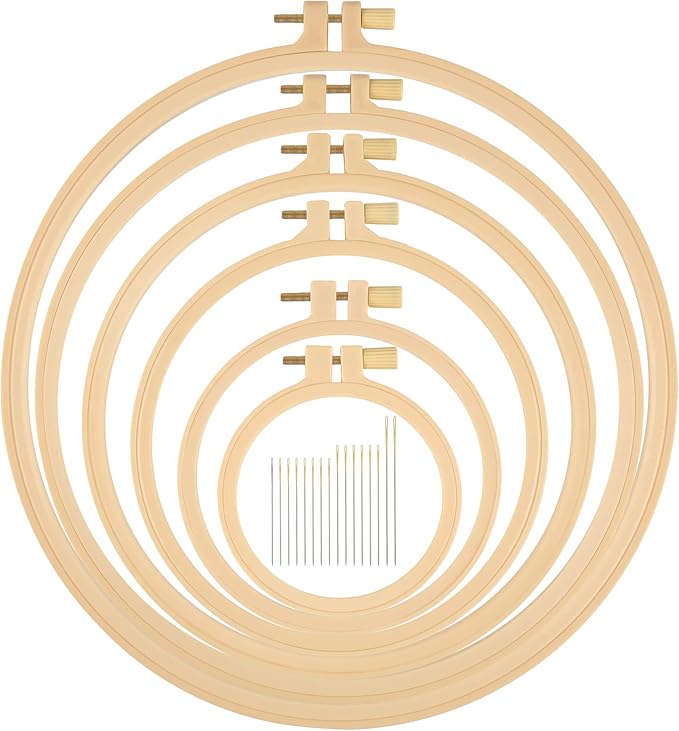
- Embroidery hoop or clear plastic sheet (You can use Bowl or Small paper plate) for tracing

- Scissors
- Ribbon or string for hanging
Step-by-Step Guide to Making a Pressed Flower Suncatcher
Step 1: Cut and Prepare Your Base
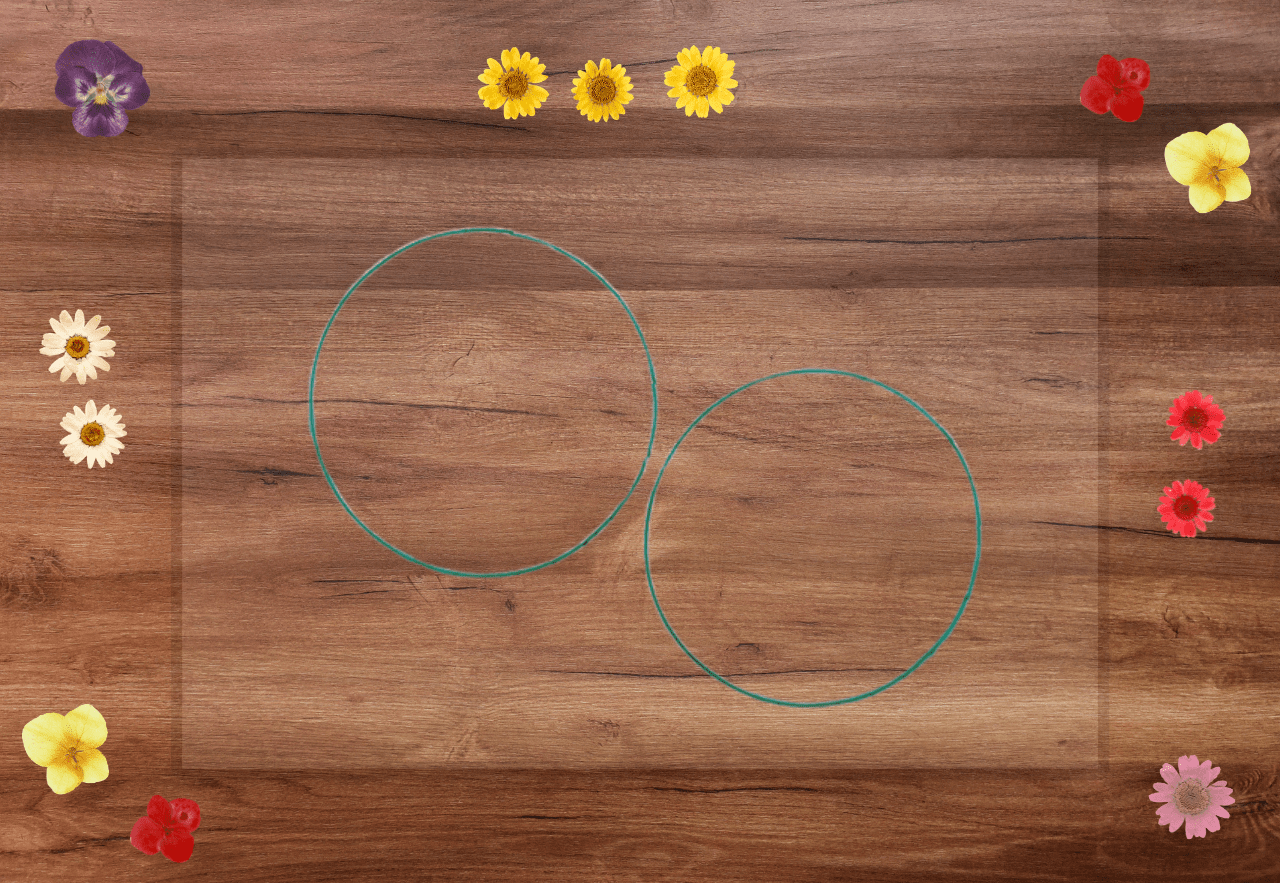
Cut a piece of clear contact paper or a laminating sheet slightly larger than your embroidery hoop or plastic sheet. Trace your embroidery hoop, a small paper plate or bowl two times onto a self laminating sheet. Peel off the backing and lay it sticky side up.
Step 2: Arrange Your Flowers
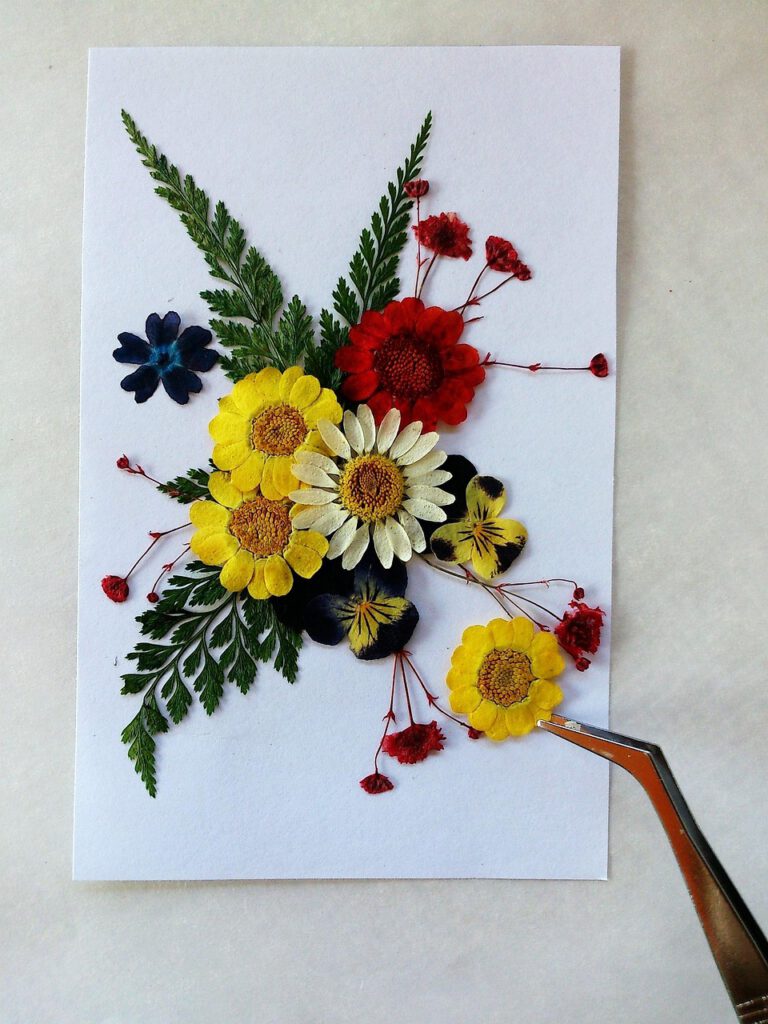
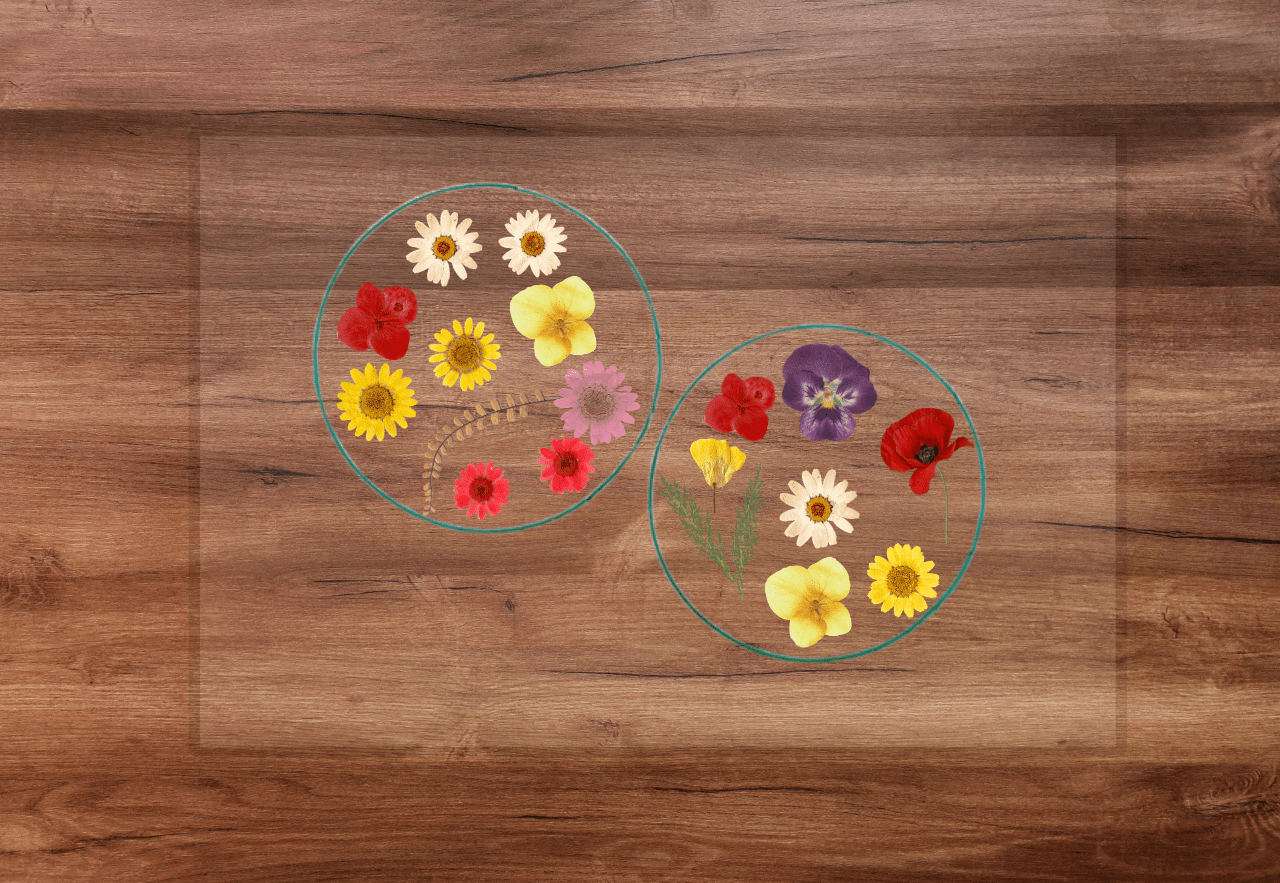
Carefully place the pressed flowers onto the sticky side of the contact paper. Get creative with your arrangement to make a beautiful floral design.
Step 3: Seal the Suncatcher
Cover the flowers with another piece of clear contact paper or laminate the sheet to protect and preserve the flowers. If using an embroidery hoop, place the laminated flower sheet between the hoops and tighten. If using a plastic sheet, cut it to size and attach a hole for hanging. Press firmly down to seal the two sheets together.
Step 4: Cut out the suncatchers
Trim just inside the traced line to ensure it doesn’t appear on your suncatcher.
Step 5: Add a Ribbon and Hang
Tie a ribbon or string to the top and hang your suncatcher, You can also hang on your windows with some double sided tape or glue dots in a sunny window to enjoy the natural beauty of pressed flowers illuminated by sunlight.
Tips for the Best Pressed Flower Suncatcher
- Use thin flowers or petals for the best transparency.
- Arrange flowers symmetrically or in a random pattern for unique looks.
- Experiment with adding leaves or small ferns for extra detail.
- Choose flowers with vibrant colors, as some shades fade over time.
- Press flowers thoroughly to ensure they are completely dry and flat before use.
- Layer different flower sizes to create depth and dimension in your design.
- Consider using clear-drying glue or resin to seal flowers for extra durability.
- Rotate your suncatcher occasionally to prevent uneven fading from sunlight.
Ways to Personalize Your Pressed Flower Suncatcher
- Add Glitter or Gold Flakes – A sprinkle of fine glitter or gold leaf between the layers can give your suncatcher a magical, shimmering effect.
- Incorporate Special Messages – Write a short, meaningful message on a piece of transparent paper and place it between the layers for a personalized touch.
- Use Different Shapes – Instead of a round hoop, try cutting your suncatcher into heart, star, or butterfly shapes for a creative twist.
- Layer Different Petals – Mix and match petals from different flowers to create a gradient or ombré effect for a visually stunning display.
Alternative Materials for Your Suncatcher
If you don’t have access to contact paper or laminating sheets, try these:
- Wax Paper & Mod Podge – Brush Mod Podge on wax paper, arrange flowers, and seal with another layer.
- Clear Plastic Packaging – Repurpose plastic from packaging by using it as a sturdy frame for your flowers.
- Glass Frames – For a more elegant look, use small glass frames to sandwich the flowers.
Bonus Tips
Multiple Methods for Hanging Your Suncatcher
- Hanging it in multiple window positions to create varying sunlight effects.
- Creating a floral window garland with multiple suncatchers.
- Framing your pressed flower suncatcher for a neater look.
Creative Alternations of the Suncatcher Project
- Seasonal Themes: Use fall leaves for autumn decor, or pastel flowers for a spring theme.
- Glow-in-the-Dark Accent: Coat areas of the design with a thin layer of glow-in-the-dark paint.
- Personal Touch: Include handwritten messages, dried herbs, or lace to give it a nostalgic feel.
Best Flowers for Pressing & What They Mean
- Pansies: Consideration.
- Forget-Me-Nots: Memory and authentic love.
- Lavender: Calmness and peace.
Ideas for Gift-Giving Your Suncatcher
- Wrapped in a specially designed gift box with a heartfelt note.
- Tied with a small bunch of fresh flowers.
- Given as a unique wedding favor or housewarming gift.
Final Thoughts
Creating your own pressed flower suncatcher is not only a relaxing and enjoyable craft project but also an emotional means of keeping the beauty of nature.
Whether you’re crafting one to decorate your home, making a collection for a unique window display, or gifting it to someone special for a birthday or Mother’s Day, this DIY project is sure to bring joy and charm.
This project is also an excellent bonding activity with children, relatives, or friends. It’s an excellent activity to share quality time together learning about art, color, and flowers. Also, every suncatcher will be different, showing your personal touch and creativity.
So get your flowers, dry them out, and begin! This elegant but easy project is a wonderful way to capture the beauty of nature and bring some sunshine into your life throughout the year. This pressed flower suncatcher craft is a simple, gorgeous way to enjoy nature and DIY home decor. Make it for yourself or as a beautiful gift, and it’s a heartfelt, inspiring project that lights up any room. Go ahead and try one today and let your creativity shine through!